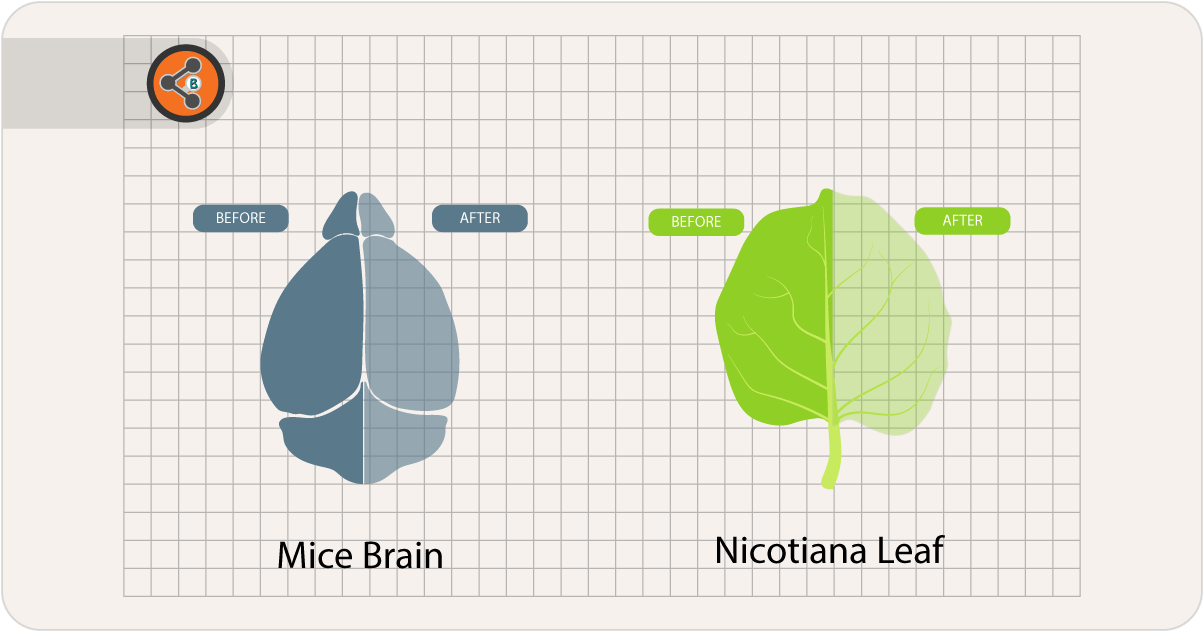
When you want to image thick tissue samples with fluorescent proteins, the depth of imaging is limited by tissue transparency. To simplify, the level of transparency is the determining factor of how deep you can image. The more transparent the sample, the deeper you can image.
The older methods used for rendering tissue transparent are mostly based dehydrating sample in a step by step manner and mounting them in high refractive index organic solvents. Other methods use chloral hydrate and Gum Arabica. Although these methods render tissue transparent, these are not compatible with fluorescent proteins.
The tissue clearing methods that are listed below are compatible with fluorescent proteins. With these methods, you can image fluorescent samples 100s of microns deep that are otherwise difficult to image even 20-50 microns deep.
Plant tissue clearing methods
(2014.12) An Optical Clearing Technique for Plant Tissues Allowing Deep Imaging and Compatible with Fluorescence Microscopy
Journal: Plant Physiology
Authors: Warner CA et al. (2014)
Material used:
Arabidopsis thaliana: Leaf
Medicago truncatula: Leaf
Pisum sativum: Leaf and Root nodules
Nicotiana benthamiana: Leaf
Zea mays: Leaf
Chemicals used:
6M Urea; Other reagents in the clearing solution are different for each tissue type.
Time required for clearing:
48 hours to 3 weeks.
Dyes and/or Fluorescent proteins used
Citrine (yellow range)
Compatible with immunolabelling: Alexa 568
Calcofluor white (cell wall)
Refractive index of mounting medium:
NA
How deep tissue imaged:
Fresh samples 100 µm; Cleared tissue up to 350 µm.
Microscope used:
Zeiss LSM 510 NLO multiphoton confocal microscope. Zeiss LSM 710 confocal microscope.40X LD water immersion and 25X LD multi immersion (30% glycerol)
Conclusion:
I guess first of its kind in the plant clearing method. Now there are other methods that are faster in clearing (hours to days).
A Versatile Optical Clearing Protocol for Deep Tissue Imaging of Fluorescent Proteins in Arabidopsis thaliana
Journal: PLoS One
Authors: Musielak TJ et al. (2016)
Material used:
Arabidopsis thaliana: Leaf, Root, Cotyledons, Isolated ovules, Siliques, Anthers and Shoot.
Chemicals used:
20-95% Thiodiethanol, Glycerol for mounting, 4%PFA for fixation.
Time required for clearing:
1 hr to O/N fixation time + 1 – 3 hrs incubation in TDE.
Dyes and Fluorescent proteins used
EGFP
Citrine (yellow range)
YFP
tdTomato
mCherry
Refractive index of mounting medium:
TDE (mounting medium) refractive index is adjustable up to 1.515 depending on the dilution.
How deep tissue imaged:
>240 microns with clearing method.
Microscope used:
AxioImager Z.1 – 20X, 0.8NA
Leica TCS SP8 – 40X, 1.1NA W Corr
Olympus FV1200 – 40X
Zeiss LSM 780 NLO (2 photon) – 25x/0,8 Imm Korr and 40x/1,1 W Korr.
Conclusion:
This method clears tissue quicker than the Urea based method. The authors also showed the higher photostability of tdTomato in TDE. Despite the advantages mentioned above, tissue shrinkage may be a drawback in certain situations.
ClearSee: a rapid optical clearing reagent for whole-plant fluorescence imaging
Journal: Development
Authors: Kurihara D et al. (2015)
Material used:
Physcomitrella patens (Moss)
Arabidopsis thaliana: Leaf, Root, seedlings, pollinated Pistil.
Chemicals used:
4%PFA for fixation;
ClearSee:
Xylitol powder 10% (W/V), sodium deoxycholate 15% (W/V), urea 25% (W/V) in water.
Time required for clearing:
Fixation time + 4 days to 4 weeks or more.
Dyes and Fluorescent proteins used
mTFP1
sGFP
mGFP5
Venus
mCitrine
YFP
mClover
tdTomato
mApple
mRFP1
Calcofluor White (cell wall stain)
Hoechst 33342
Refractive index of ClearSee:
1.41; For ClearSee V2 – 1.395.
How deep tissue imaged:
100-150 microns with clearing method + confocal laser scanning microscope.
400-670 microns with 2 photon microscope.
Microscope used:
Olympus bx53: 10X
Nikon A1R MP (multiphoton): 25× WI, NA = 1.10, WD = 2.00 mm
Zeiss LSM780-DUO-NLO: 20× NA = 0.8
Storage of the cleared samples:
Cleared samples can be stored in the ClearSee reagent 5 (tested up to) months at room temperature.
Conclusion:
The most significant advantage of this method is the compatibility with fluorescent proteins (shown with ten different FPs) and also with cell wall staining (Calcofluor White) and nuclear stains(Hoechst 33342). The only drawback I can think of is the duration of tissue clearing (4 weeks in some cases). However, due to the advantages mentioned above waiting for 4 weeks may not be such a disadvantage.
Animal tissue clearing methods
RTF: a rapid and versatile tissue optical clearing method
Journal: Scientific Reports
Author: Yu T et al., 2018
Material used:
Adult mice brain sections
Neonatal whole brain
Whole embryo
Chemicals used:
Sample fixation: 4% Paraformaldehyde.
RTF-R1: 30% Triethanolamine + 40% Formamide + 30% Water
RTF-R2: 60% Triethanolamine + 25% Formamide + 15% Water
RTF-R1: 70% Triethanolamine + 15% Formamide + 15% Water
The time required for clearing:
hours to a day.
Dyes or Fluorescent proteins used
Yellow Fluorescent Protein (YFP)
Enhanced Green Fluorescent Protein (EGFP)
dsRed
Dil – membrane labelling dye
Alexa 594
Compatibility with Immunostaining:
Yes; Anti-GFP antibody with Alexa 594.
Refractive index of mounting medium:
1.46;
pH of the mounting medium:
10
How deep tissue imaged:
Microscope used:
Zeiss LSM710 and light sheet microscope (La VisisonBioTec)
Conclusion:
This method was reported to be quicker and better compared to ClearT2. When compared with other methods like FRUIT and ScaleSQ.

1 comment
Pratik Goswami
Much useful website for biochemical calculation of different solutions and chemicals. Thanks to developer.